FX Impact M4 Complete Upgrade Path: From Stock to Competition-Ready in Canada
Why the FX Impact M4 is Canada’s favourite “buildable” PCP platform
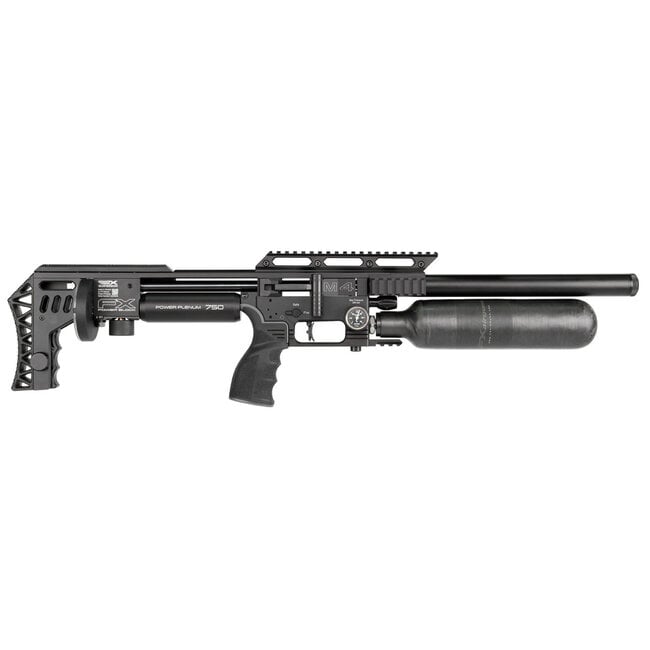
The FX Impact M4 is one of the most adaptable PCP rifles on the market. Out of the box it’s accurate, smooth, and powerful, but its real strength is how easily you can tailor it to a discipline: benchrest, PRS-style airgun matches, long-range slug shooting, or a hybrid “do-it-all” setup. If you’re shopping for fx impact m4 canada options, the bigger question is usually not “Is it good?” but “What’s the smartest upgrade path so I don’t buy parts twice?”
This guide lays out a practical, Canada-friendly roadmap: what to change first, what to leave alone, and which fx impact accessories and fx impact parts typically deliver real performance gains for a competition airgun setup. It’s written for buyers with commercial intent who want to compare upgrade options, understand trade-offs, and build a competition-ready rifle with fewer dead ends.
For reference, here’s a common starting point: FX Impact M4 .22 Cal Sniper. From there, you can go mild (ergonomics + data) or full send (barrel system + tuning + slug kit).
Before you buy upgrades: pick a performance goal (pellets vs slugs, distance, rules)
Most frustration with fx impact m4 upgrades comes from mixing goals. A rifle tuned for heavy slugs at high power is rarely the same rifle that shoots light pellets efficiently at moderate power. Start by deciding which lane you’re building for.
Common competition directions
- Precision pellets (short to mid range): prioritize consistency, low ES/SD, and forgiving accuracy nodes.
- Hybrid (pellets + occasional slugs): prioritize versatility and easy retuning between two “known good” presets.
- Slug-focused long range: prioritize stable regulator behaviour at higher setpoints, a barrel/liner optimized for slugs, and a hammer/valve setup that can deliver higher dwell efficiently.
Also consider match rules and local range limits. In Canada, many shooters run higher-power configurations where permitted, but it’s still worth planning around your facility’s safety rules and your intended use. The right path is the one you can actually shoot often.
Stage 1: Must-have “competition essentials” (data, stability, repeatability)
These upgrades don’t chase raw power. They make the rifle easier to shoot well and easier to tune. If you’re building a serious pcp rifle upgrades list, this is the foundation.
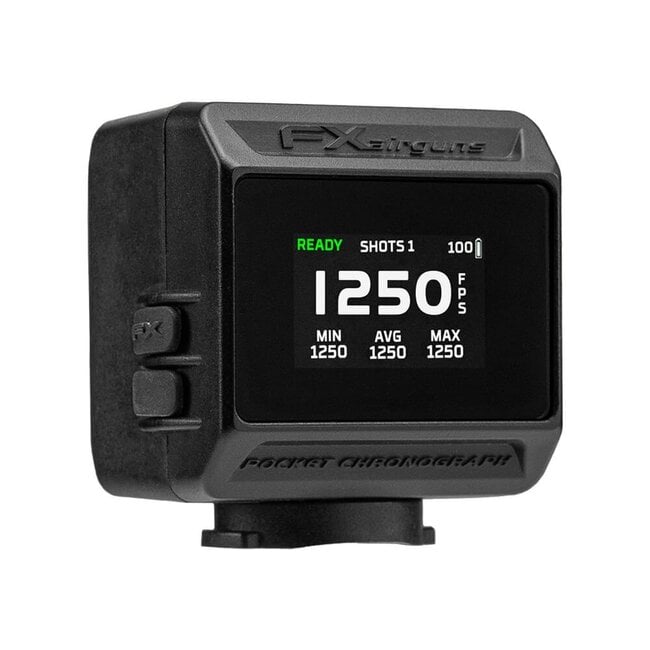
1) Chronograph: the single most important tuning tool
If you do any fx impact tuning, you need velocity data. A chronograph lets you quantify changes, find stable tune nodes, and confirm that a regulator or hammer adjustment actually improved consistency instead of just “feeling better.”
Browse options here: Chronographs.
- What to look for: reliability with pellets and slugs, easy setup, consistent readings indoors/outdoors.
- Why it matters in competition: better ES/SD means less vertical dispersion at distance, and more predictable dope.
2) Optic and mounting: don’t handicap the rifle
The Impact M4 is capable of serious precision, but only if you can see your target and hold reliably. A good scope, solid rings, and a repeatable zero are essential. Shop: Scope & Optics.
- Reticle: Christmas-tree style holds help with wind and quick corrections.
- Turrets: positive tracking matters more than maximum magnification.
- Mount height: choose a comfortable head position, then lock in cheek support (next section).
3) Cheek weld and position: consistency you can feel
In field and bench disciplines, your cheek position drives repeatability. If your eye alignment changes shot to shot, your point of impact will too. Two proven options:
Pick the one that matches your stock configuration and optic height needs. The best cheek setup is the one that gives you an identical sight picture the instant you shoulder the rifle.
4) Front support: bipod or rest setup
A stable front end reduces wobble and makes it easier to evaluate tune changes. If you’re shooting prone, a bipod is often the simplest route; for bench work, many shooters prefer a front rest. Options here: Bipods, Slings & Rests.
5) Magazines: don’t let feed issues cost points
Most competition shooters keep multiple mags dedicated to specific ammo types or weights. It’s not glamorous, but it prevents mix-ups and keeps you running smoothly on the line. Browse: FX Magazines.
Stage 2: Barrel and projectile system (the biggest accuracy lever)
If Stage 1 is about repeatability, Stage 2 is about the rifle’s actual mechanical preference for certain ammo. The barrel/liner choice and length, plus whether you’re pellet- or slug-oriented, is often the most meaningful performance decision you’ll make.
Choose your direction: pellet precision or slug performance
- Pellets: typically more forgiving, often quieter and more efficient at moderate power, excellent for many disciplines.
- Slugs: can carry better at long range, but are usually more sensitive to tune and often want higher, steadier power.
Barrel kit flexibility: swapping configurations without replacing the rifle
One reason FX dominates the modular space is the ability to reconfigure the system rather than buying another gun. If you want a second length or a dedicated setup, consider a barrel kit. Example: FX Impact Barrel Kit.
A shorter barrel can be handy for handier handling or certain match formats; longer barrels can offer more efficiency or velocity potential at a given tune, especially when pushing heavier projectiles. The “best” length is the one that matches your target distance, power goals, and portability needs.
Where to shop barrel components and liners
For Canadian shooters building multiple configurations, it helps to see compatible systems in one place: FX Barrel Kits & Liners.
Practical barrel-system advice for competition
- Change one variable at a time: if you swap liner and tune simultaneously, you won’t know what caused the improvement (or the problem).
- Confirm with groups and chronograph: small ES/SD is great, but group size and vertical at distance are the truth.
- Document your winning settings: keep notes for regulator pressure, hammer, valve, and your best ammo lot.
Stage 3: Air delivery and consistency (regulator and tune stability)
When shooters talk about “competition-ready,” they usually mean predictable. That’s largely a regulator-and-tune conversation. The FX Impact M4 is highly tunable, but that also means you can tune it poorly. The goal is a stable velocity curve, manageable shot count, and repeatable behaviour across temperature and fill pressure variation.
Regulator upgrade option: fine control and repeatability
A quality aftermarket regulator can be a strong move when you want finer adjustment resolution or a different consistency profile than stock. One popular choice is: Huma FX Impact Tuning Regulator.
Who benefits most:
- Shooters chasing very low ES/SD for tight vertical at distance.
- Slug shooters running higher setpoints who want stable behaviour and easy adjustability.
- Builders who want a repeatable “known good” baseline for multiple barrel/ammo setups.
When you might skip it: if your stock rifle is already delivering the consistency you need for your distances and your current match format, put that budget into optics, barrel configuration, or time on the range.
What “good tuning” looks like on an Impact M4
- Velocity stability: a tight spread over a meaningful shot string, not just 5 shots.
- Efficiency: the rifle reaches your target velocity without harsh settings that waste air.
- Accuracy node: you find a speed where groups shrink and remain stable across minor environmental changes.
If you’re new to tuning, invest in data first (chronograph), then learn the platform’s adjustments methodically. You’ll progress faster and avoid chasing myths.
Stage 4: Power and dwell control (hammer weight and slug-focused kits)
Once you have a consistent baseline, you can decide if you need more power, more stability at higher power, or better control over dwell. This is where purpose-built fx impact parts matter most for slug shooters and long-range competitors.
Tungsten hammer weight: more authority, often smoother power delivery
The hammer system influences how the valve opens and how long it stays open (dwell). A heavier hammer can help certain setups reach desired energy levels more efficiently or with different spring settings. Consider: FX Impact Tungsten Hammer Weight.
- Best for: builds that need higher output or stable valve behaviour under demanding tunes.
- Trade-offs: more power potential can mean more air use and more sensitivity if you overdrive the system.
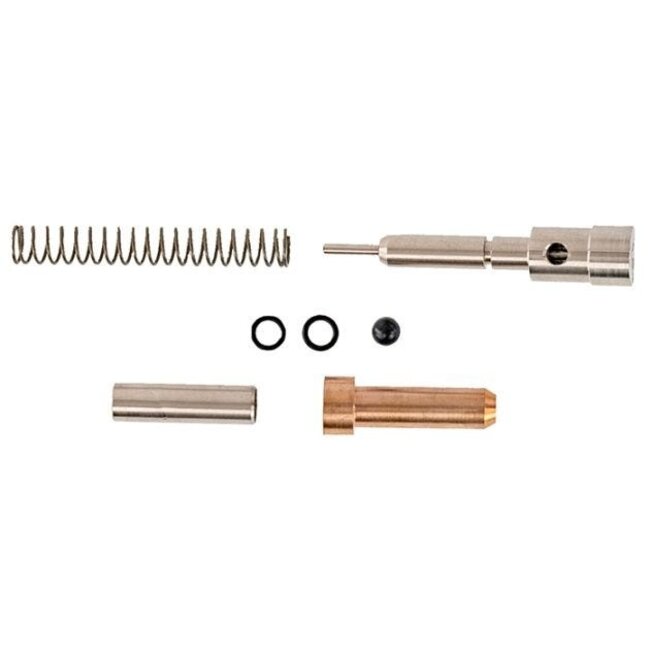
Slug Power Kit: when your goal is long-range slug performance
If your end goal is a slug-centric competition airgun setup, a dedicated kit can be a cleaner path than stacking random changes. A common option is: FX Impact Slug Power Kit.
Who should consider it:
- Shooters committed to slugs as their primary projectile.
- Competitors who need stable, repeatable higher-power output for wind-bucking performance.
- Builders who already have a chronograph and understand how to tune responsibly.
Who might not need it: pellet-focused shooters and anyone primarily competing at shorter distances where pellets already deliver top scores with less tuning complexity.
Stage 5: Reliability upgrades and spares (what competitors keep on hand)
In matches, reliability is performance. A tiny issue that costs 30 seconds can cost a stage. While the Impact platform is robust, experienced shooters treat wear items and small parts as part of the program.
Smart reliability habits
- Keep dedicated magazines for each ammo type and confirm feeding before match day.
- Track O-rings and seals during major changes (barrel swaps, regulator work).
- Do function checks after any tune change: fill, dry function (safe direction), chrono string, then groups.
If you’re browsing fx impact accessories broadly, start with the curated sections that match the platform: FX Impact Accessories and FX Airguns Accessories. For more specialized components and tuning-related items: FX Airguns Custom Parts & Tuning.
Three proven build paths (pick one, then personalize)
Below are three common upgrade “recipes” that map well to real-world use in Canada. They’re intentionally staged so you can stop at any point and still have a coherent setup.
Path A: Pellet precision competitor (efficient, forgiving, consistent)
- Data first: add a chronograph from Chronographs.
- Optic upgrade: choose from Scope & Optics with dependable tracking.
- Ergonomics: add a cheek solution (Ambidextrous Cheek Piece or M4 Ambidextrous Cheek Rest).
- Support: bipod/rest from Bipods, Slings & Rests.
- Only then: consider barrel/liner changes if your rifle isn’t grouping with your preferred pellet.
Why it works: you spend money on elements that score points (repeatable aiming and stable shot delivery) before chasing higher power.
Path B: Hybrid match + field setup (versatility without constant wrenching)
- Chronograph + optics + cheek support as in Path A.
- Second barrel length or configuration: add an FX Impact Barrel Kit or shop options under FX Barrel Kits & Liners.
- Dedicated magazines for your two ammo types: FX Magazines.
- Optional regulator upgrade if you want easier repeatability between two tunes: Huma Regulator.
Why it works: you keep two validated setups (pellet and slug-light, or two pellet weights) rather than endlessly experimenting.
Path C: Slug-focused long-range competition build (power + stability)
- Chronograph mandatory (seriously): Chronographs.
- Barrel/liner planning: shop Barrel Kits & Liners with slug intent.
- Regulator tuning capability: consider Huma FX Impact Tuning Regulator if you want fine control and repeatability at higher demands.
- Hammer/valve authority: add Tungsten Hammer Weight if your build benefits from it.
- Purpose kit: if slugs are the whole point, consider the FX Impact Slug Power Kit.
- Stability hardware: bipod/rest from Bipods, Slings & Rests and quality glass from Scope & Optics.
Why it works: long range punishes inconsistency. This path prioritizes the parts that keep velocity and dwell stable when you push heavier projectiles.
How to evaluate upgrades: what matters on paper vs on target
When comparing fx impact m4 upgrades, it helps to separate “measurable improvements” from “nice-to-have.” Here’s a simple way to evaluate ROI for competition.
- Measurable: tighter groups, lower ES/SD, more stable POI across a match, fewer flyers, reliable feeding.
- Indirect but important: improved position comfort, faster target acquisition, reduced fatigue (which keeps you consistent in later stages).
- Often overrated: chasing maximum power when your discipline rewards precision more than energy.
If you’re buying in Canada, another practical factor is parts compatibility and support. Sticking to proven components and a clear tuning plan is typically cheaper than impulse-buying multiple “maybe” solutions.
Common mistakes when upgrading an FX Impact M4 (and how to avoid them)
- Changing three things at once: do one change, test, document, then move on.
- No chronograph data: guessing wastes time and pellets. Get real numbers.
- Building for power instead of a node: find the accuracy node first; then decide if you truly need more speed.
- Ignoring ergonomics: a perfect tune can’t fix inconsistent head position.
- Under-investing in optics: if your turrets don’t track, your dope is fiction.
Putting it together: a sensible “complete” competition-ready checklist
If you want a single, coherent checklist that fits most competitive use cases, this is a strong all-around order of operations for fx airguns canada buyers building an Impact M4:
- Chronograph for data-driven fx impact tuning: Chronographs.
- Quality scope with reliable tracking: Scope & Optics.
- Cheek support for repeatable head position: Cheek Piece or M4 Cheek Rest.
- Stable support for your shooting style: Bipods, Slings & Rests.
- Magazines dedicated to your chosen ammo: FX Magazines.
- Barrel/liner choice that matches pellets or slugs: FX Barrel Kits & Liners and consider a configurable FX Impact Barrel Kit.
- Regulator refinement if your goals demand it: Huma Regulator.
- Power/dwell upgrades only when justified by your projectile and distance: Tungsten Hammer Weight and/or Slug Power Kit.
Where to shop FX Impact M4 upgrades in Canada
If you’re ready to compare parts and build your own upgrade plan, these categories are the most efficient starting points:
- FX Impact Accessories for platform-specific add-ons
- FX Airguns Accessories for broader FX compatibility
- FX Airguns Custom Parts & Tuning for tuning-focused components
- FX Barrel Kits & Liners for barrel system planning
The Impact M4 rewards methodical building. Start with data and ergonomics, pick a barrel/projectile direction, then add regulator and power parts only as your goals require. Done that way, your “complete upgrade path” becomes a clean progression from stock to truly competition-ready, without wasting budget on upgrades that don’t move your scores.


