Break Barrel Shooting Technique: Mastering the Artillery Hold
Break-barrel air rifles—whether spring-piston or gas-piston powered—behave fundamentally differently from firearms and require specialized shooting techniques to achieve maximum accuracy. The most important skill any break-barrel shooter can master is the "artillery hold," a counterintuitive technique that transforms inconsistent groups into tight, repeatable accuracy. Understanding and properly implementing this hold is the difference between frustration and precision, between wasted pellets and consistent bullseyes.
At Airgun Source Canada, we've helped thousands of Canadian airgunners improve their shooting over our 20+ years in business. The artillery hold remains the single most impactful technique we teach—and the most commonly overlooked by beginners who approach air rifles with firearm shooting habits that simply don't apply.
Why Break-Barrel Air Rifles Are Different

Before diving into the artillery hold technique, understanding why break-barrel air rifles demand special handling is essential.
The Unique Recoil Pattern
Firearms create rearward recoil—the gun pushes straight back into your shoulder. Break-barrel air rifles create a complex two-stage recoil pattern that moves in multiple directions simultaneously.
When you pull the trigger on a spring or gas piston air rifle, the piston slams forward, pushing the rifle backward. Then, as the piston reaches the end of its travel and compresses air, a second recoil impulse occurs as that compressed air propels the pellet down the barrel. This creates what shooters call "dual-direction recoil"—the rifle moves backward, then forward, all while the pellet is still traveling through the barrel.
This forward-then-backward motion takes approximately 3-4 milliseconds in a spring rifle (slightly less in gas pistons). During those few milliseconds, any interference with the rifle's natural movement pattern will redirect the barrel, changing where the pellet impacts. This is why techniques that work perfectly with firearms produce terrible accuracy with break-barrel air rifles.
Lock Time and Barrel Movement
The time between trigger pull and pellet exit—called "lock time"—is dramatically longer in air rifles than firearms. A centerfire rifle's lock time might be 2-3 milliseconds. A break-barrel air rifle's lock time can exceed 5 milliseconds for springs, or 3-4 milliseconds for gas pistons.
During this extended lock time, any pressure, tension, or inconsistent contact between your body and the rifle will cause the barrel to move. Since the pellet is still in the barrel during this movement, even tiny variations in barrel position create significant point-of-impact changes downrange.
A movement of just 1mm at the muzzle translates to several centimeters of error at 25 meters—the difference between hitting and missing your target.
What Is the Artillery Hold?
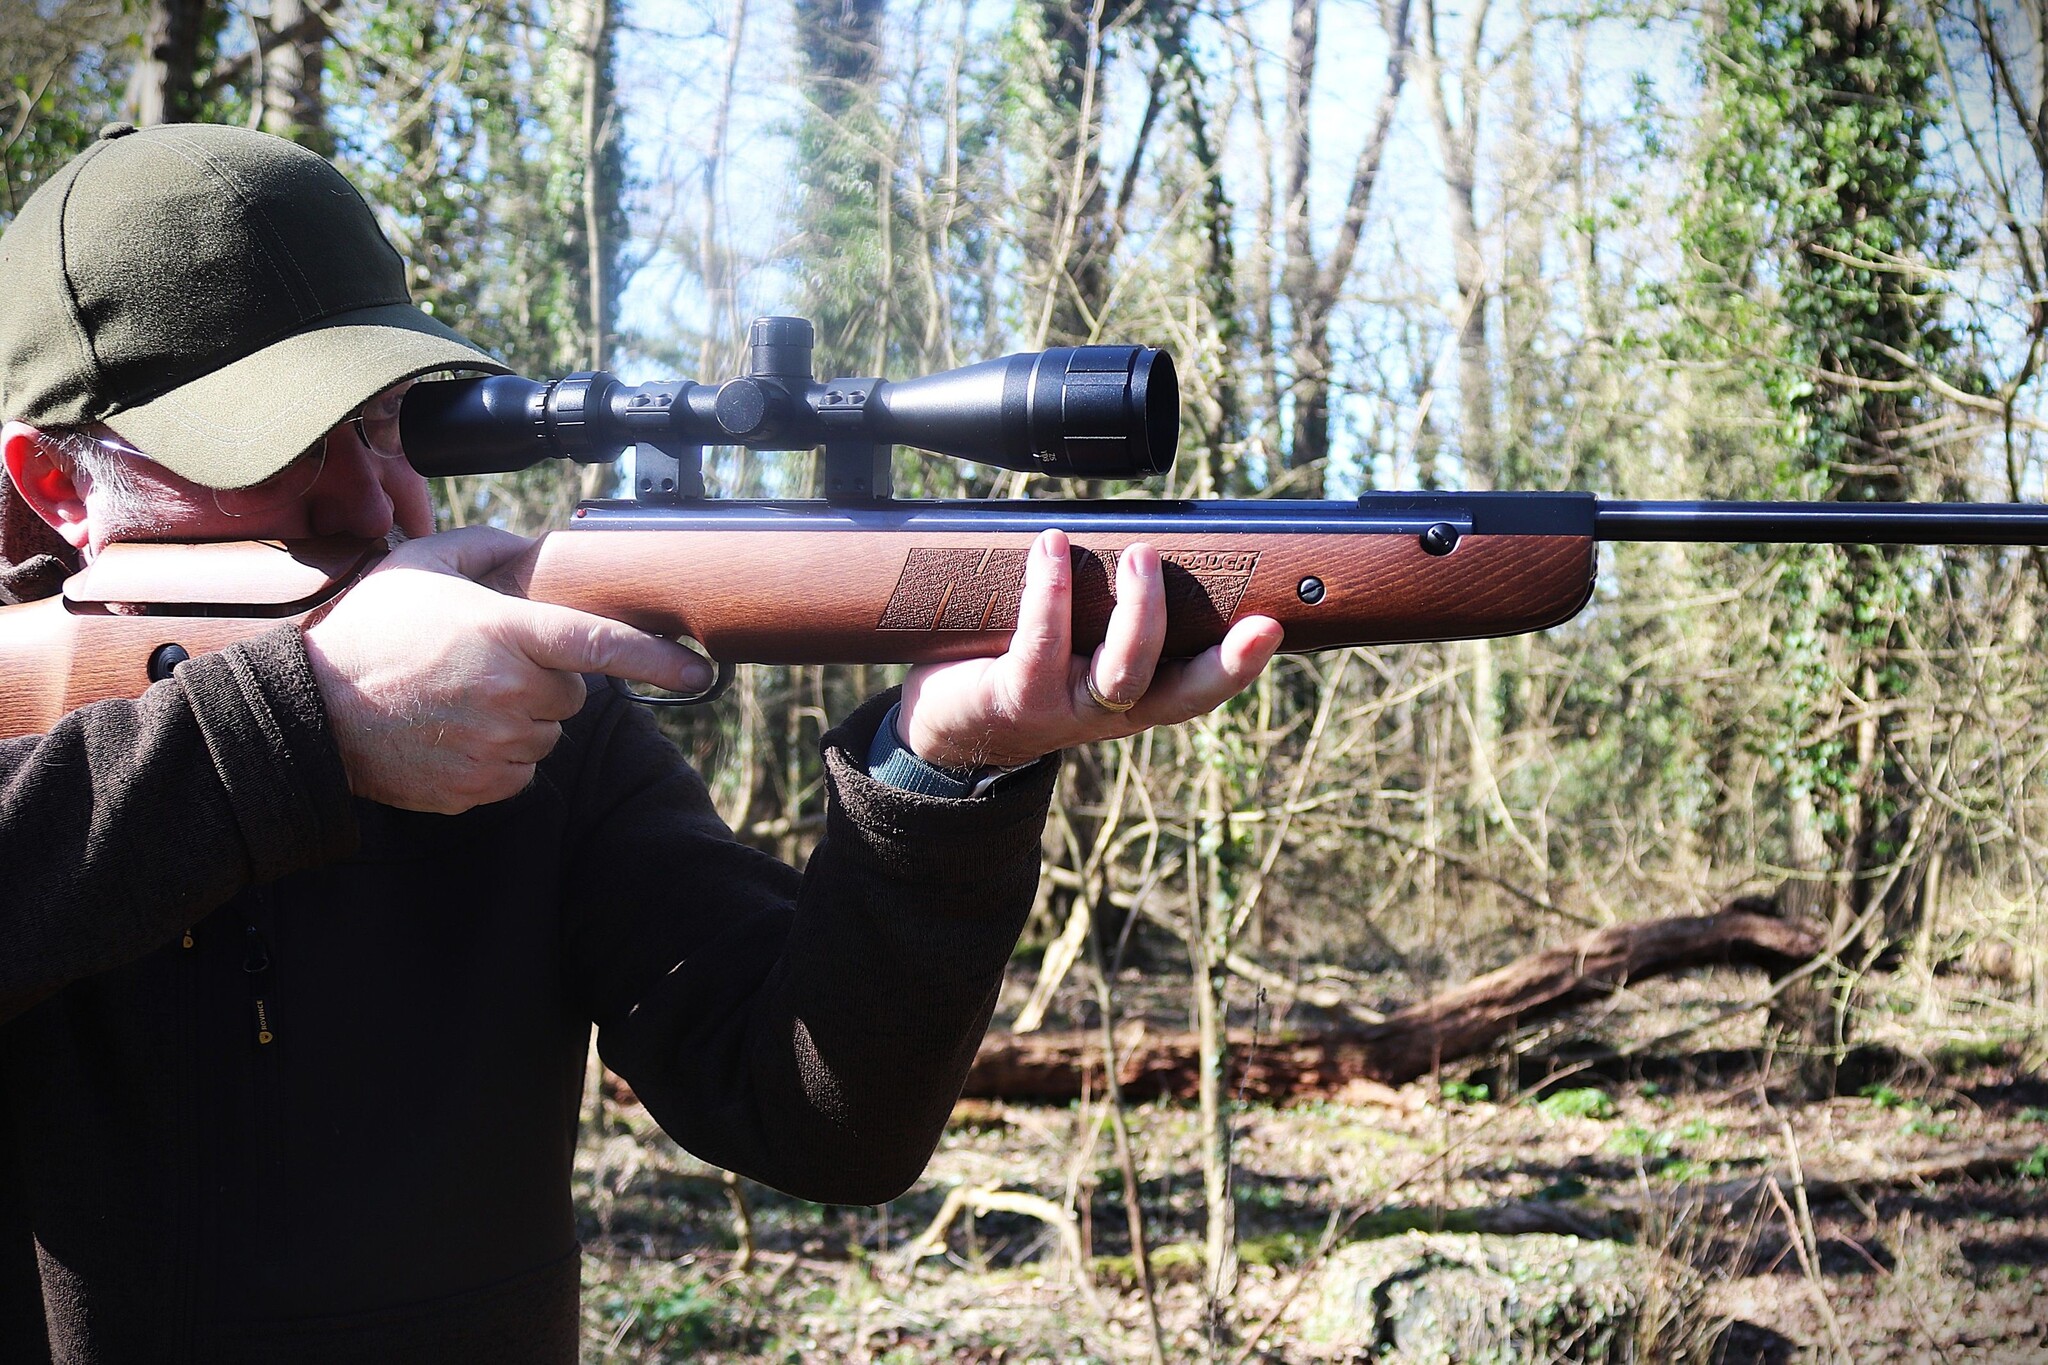
The artillery hold is a shooting technique where you minimize contact between your body and the rifle, allowing the gun to recoil naturally and consistently. Instead of gripping tightly and pulling the rifle firmly into your shoulder (as you would with a firearm), you support the rifle gently with minimal pressure, letting it move freely during the shot cycle.
The name comes from artillery pieces, which must recoil freely to function properly. Field guns that are prevented from recoiling can be damaged or destroyed. Similarly, air rifles that can't complete their natural recoil pattern shoot inconsistently.
The Core Principle
The artillery hold principle: The rifle should rest on your hand, not be gripped by it. Your body provides a stable platform, but the rifle must be free to move during the shot cycle without interference.
Think of your supporting hand as a sandbag rather than a grip. The rifle sits on this sandbag, supported but not constrained. Your trigger hand maintains light contact sufficient for trigger control but nothing more.
Step-by-Step Artillery Hold Technique
Step 1: The Support Hand Position
Place your supporting hand (left hand for right-handed shooters) palm-up beneath the rifle's forestock, typically 6-12 inches forward of the trigger guard. The rifle should rest in your palm or on your fingertips—never gripped with your fingers wrapped around the forestock.
Key points:
- Keep your palm flat or slightly cupped
- The rifle rests on the meaty part of your palm, not your fingertips (unless shooting from a bench)
- Your thumb should not wrap around the stock—it stays alongside your fingers
- Maintain just enough upward pressure to support the rifle's weight, nothing more
Common mistake: Gripping the forestock with your fingers wrapped around it. This creates tension points that interfere with recoil pattern and causes groups to open dramatically.
Step 2: The Trigger Hand Grip
Your trigger hand should contact the rifle at only two points: your trigger finger on the trigger, and light contact between your palm/thumb and the grip.
Key points:
- Grip pressure should be 20-30% of what you'd use on a firearm—just firm enough to maintain control
- Your trigger finger should contact the trigger consistently in the same spot (usually the pad or first joint)
- Avoid white-knuckle gripping or tension in your hand
- The web of your thumb contacts the grip lightly
Common mistake: Death-gripping the pistol grip. Excessive tension transmits through the stock, restricting the rifle's natural movement and creating inconsistent accuracy.
Step 3: Shoulder Contact
The buttstock should rest against your shoulder pocket, but with significantly less pressure than you'd apply to a firearm. Think "resting against" rather than "pulled firmly into."
Key points:
- Let the rifle sit in your shoulder rather than pulling it tight
- Maintain consistent but light contact
- Your shoulder provides a reference point, not a restraint
- Allow the rifle to move naturally against your shoulder during recoil
Common mistake: Pulling the rifle tightly into your shoulder. This prevents free recoil and causes the rifle to bounce differently with each shot, creating vertical stringing in your groups.
Step 4: Cheek Weld
Your cheek should rest on the stock with light, consistent contact—just enough to align your eye with the sights or scope. This contact point is critical for repeatable accuracy.
Key points:
- Same cheek position and pressure with every shot
- Light contact—the rifle should be free to move slightly under your cheek
- Align your dominant eye with the sight picture
- Avoid pressing your cheek hard into the stock
Common mistake: Inconsistent cheek weld position. Moving your head position even slightly between shots changes your sight alignment and point of aim.
Step 5: Body Position and Stability
Your body should create a stable platform while remaining relaxed. Tension anywhere in your body transmits to the rifle.
Key points:
- Sit or stand in a comfortable, naturally stable position
- Breathe normally until the final moment before the shot
- Keep your shoulders relaxed
- Distribute your weight evenly
Artillery Hold Variations for Different Shooting Positions
Bench Rest Shooting
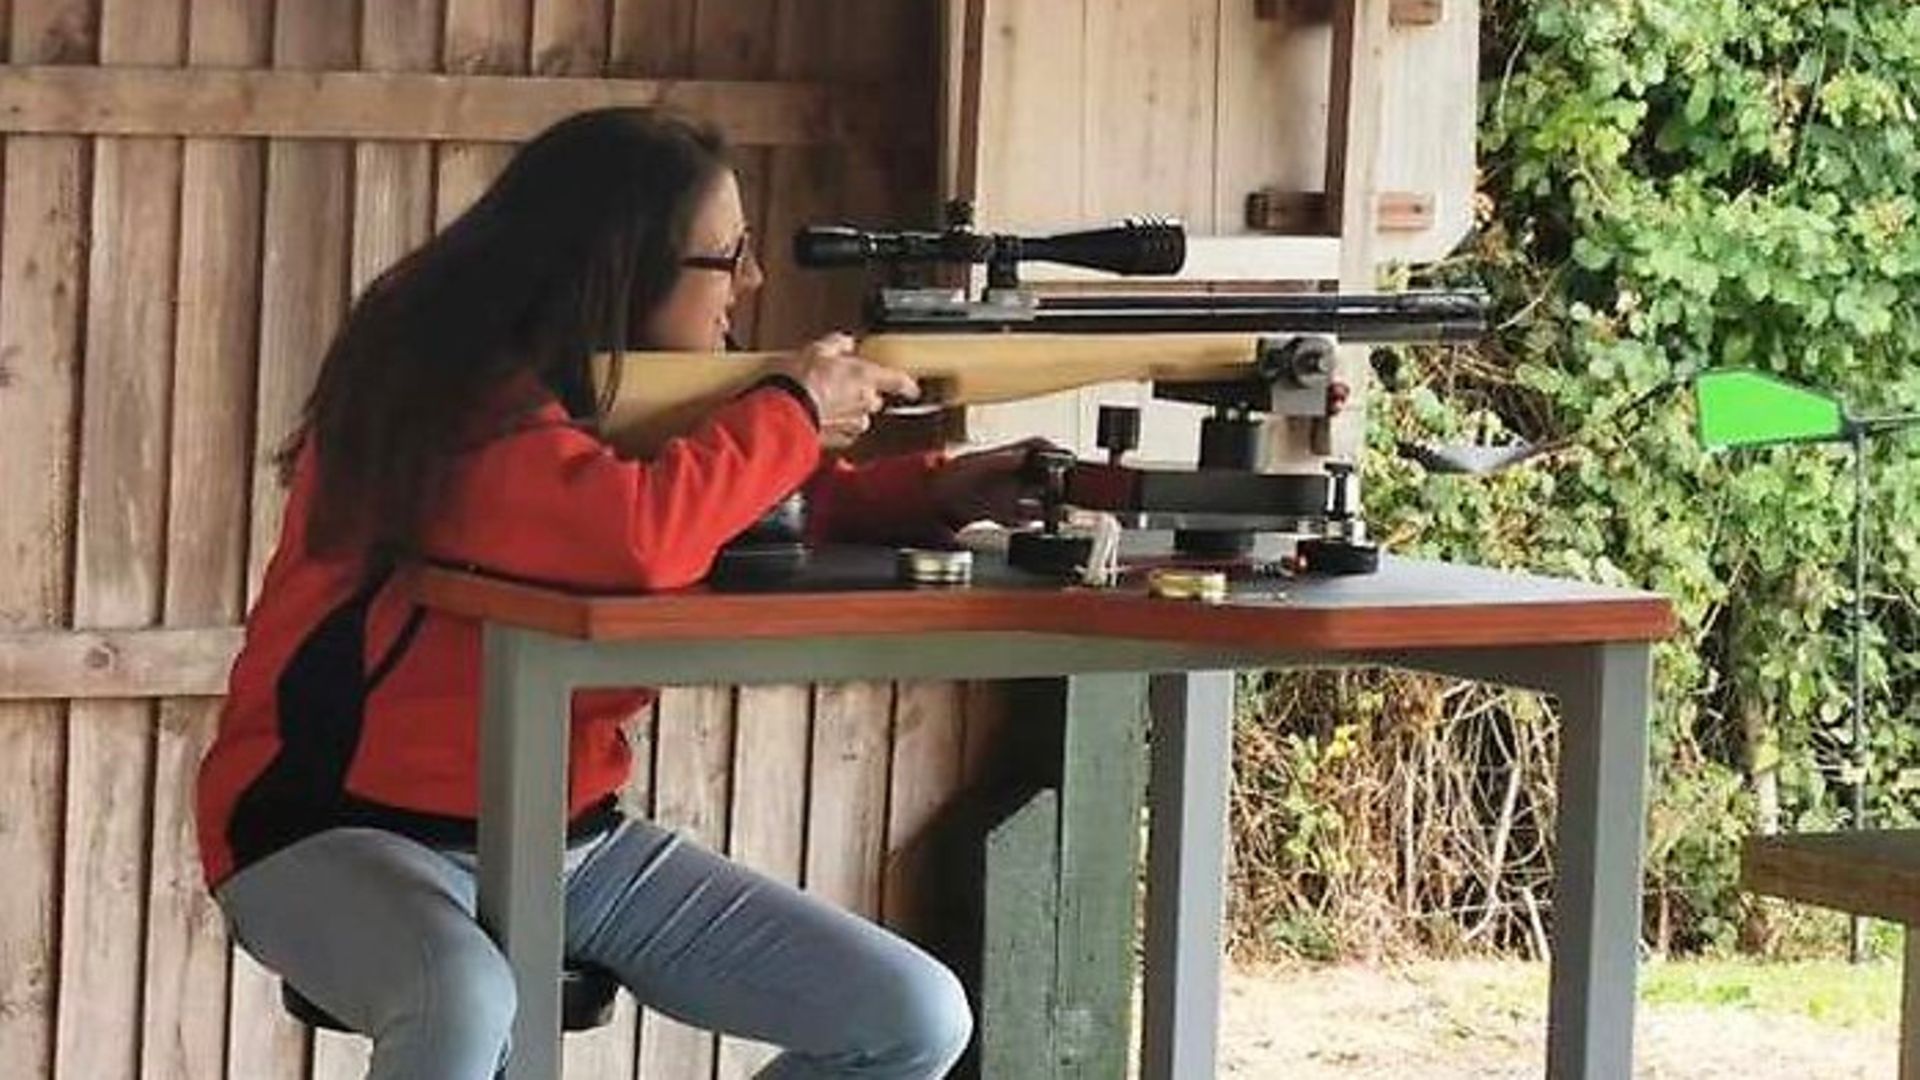
When shooting from a bench, the artillery hold principles remain but adapt to the stable platform:
Technique:
- Rest the rifle on your fingertips or palm, elevated above the bench surface
- Never rest the rifle directly on a hard surface—always use your hand as an interface
- Keep your support hand 8-12 inches back from the muzzle
- Maintain the same light grip and shoulder contact as standing shots
Why it works: Even from a bench, the rifle must recoil freely. Resting the rifle directly on sandbags or the bench creates an inconsistent interface that changes with each shot. Your hand provides a consistent, slightly yielding platform.
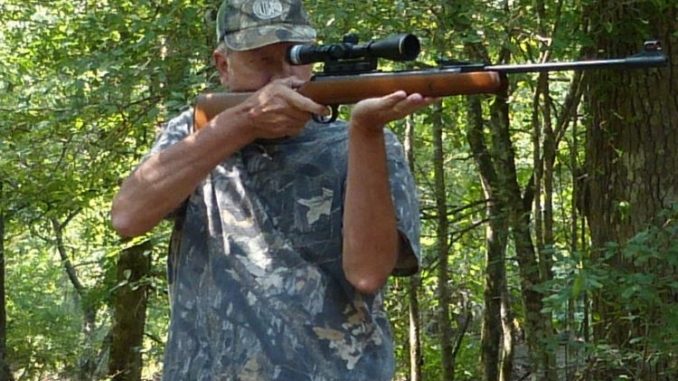
Standing Position

The artillery hold shines in standing positions where natural body sway creates challenges:
Technique:
- Support hand position slightly farther forward for better balance
- Focus on natural point of aim—let your body settle into position
- Accept minor wobble rather than fighting it with tension
- Trigger pull should be smooth and surprise you slightly
Advanced tip: For field shooting, practice the artillery hold while breathing naturally. The goal is consistent support, not rigid stability.
Prone Position

Shooting prone requires special attention to forearm and hand placement:
Technique:
- Support hand remains palm-up under the forestock
- Elbow of support arm positioned comfortably, not torqued awkwardly
- Body weight should be on your non-shooting side hip, not centered
- Allow the rifle to rest naturally without muscling it into position
Fine-Tuning Your Artillery Hold
Once you've mastered the basic artillery hold, fine-tuning improves accuracy further:
Finding Your Rifle's Sweet Spot
Every rifle has an optimal support hand position—the "sweet spot" where groups are tightest. This varies by rifle design, weight distribution, and stock configuration.
Discovery process:
- Shoot a 5-shot group with your support hand 6 inches forward of the trigger guard
- Move your hand 2 inches forward, shoot another 5-shot group
- Continue moving forward in 2-inch increments
- Repeat the process in reverse, moving your hand rearward
- The position producing the smallest groups is your sweet spot
Mark this position with a piece of tape or note it for future reference. Your optimal position might be anywhere from 4 inches to 14 inches forward of the trigger guard.
Adjusting for Different Rifles
Gas piston rifles like those in ournitro piston collection generally tolerate slightly less precise artillery holds than spring-piston rifles because their smoother recoil pattern is more forgiving. However, proper technique still improves accuracy dramatically.
Heavier rifles require more support and may benefit from the support hand positioned farther back. Lighter rifles often shoot best with forward hand placement.
Rifles with adjustable stocks allow you to optimize length of pull and cheek piece height, making consistent artillery hold easier to maintain.
The Role of Follow-Through
Follow-through—maintaining your hold and sight picture after the shot—is critical with break-barrel air rifles due to their extended lock time.
Proper follow-through:
- Keep your cheek on the stock until the pellet exits
- Maintain consistent support hand position
- Don't move to reload or check the target until the shot completes
- Continue breathing normally—don't hold your breath
Many shooters unconsciously anticipate recoil and move before the pellet exits. This ruins accuracy because the barrel is moving when the pellet is still inside.
Common Artillery Hold Mistakes and Fixes
Mistake #1: Gripping Too Tightly
Symptom: Large, inconsistent groups; vertical stringing Fix: Consciously reduce grip pressure by 50%. The rifle should feel like it might slip from your hands if you relaxed any more.
Mistake #2: Inconsistent Support Hand Position
Symptom: Horizontal stringing; groups that walk across the target Fix: Mark your optimal hand position and ensure it's identical for every shot. Use a landmark on the stock as a visual reference.
Mistake #3: Pulling Rifle Into Shoulder
Symptom: Vertical stringing; shots climbing up the target Fix: Let the rifle rest against your shoulder rather than actively pulling it. The rifle should maintain contact but be free to move.
Mistake #4: Anticipating Recoil
Symptom: Groups low and to the side of aim point; inconsistent shot placement Fix: Practice dry-firing with snap caps to train yourself not to flinch. Focus on smooth trigger press that surprises you.
Mistake #5: Inconsistent Cheek Weld
Symptom: Random group dispersion in all directions Fix: Develop a consistent mounting routine. Close your eyes, mount the rifle, then open your eyes to check sight alignment. Adjust your body position, not your head, to align sights.
Practice Drills to Master the Artillery Hold
Drill 1: The Light Touch Test
Hold your rifle with proper artillery hold. Have a friend try to gently slide a piece of paper between your palm and the forestock. If they can't, you're gripping too tightly.
Drill 2: Grip Pressure Ladder
Shoot 3-shot groups at the same aim point, progressively reducing grip pressure with each group:
- Group 1: 70% grip pressure (firearm-like grip)
- Group 2: 50% grip pressure
- Group 3: 30% grip pressure (proper artillery hold)
- Group 4: 20% grip pressure (extremely light)
Compare group sizes. Most shooters find 20-30% grip pressure produces the smallest groups.
Drill 3: Consistency Check
Mark your optimal support hand position with tape. Shoot 5 groups of 5 shots each, completely dismounting between groups. This trains consistency in achieving the proper artillery hold position.
Drill 4: Slow Fire Accuracy
Shoot one pellet every 2-3 minutes, focusing entirely on perfect artillery hold execution. This deliberate practice builds muscle memory more effectively than rapid shooting.
Equipment Considerations
While technique matters most, certain equipment choices complement the artillery hold:
Stock Design
Rifles with well-designed forestock geometry make artillery hold easier. Look for:
- Flat or slightly rounded forestock bottom (easier to rest on your palm)
- Adequate length between trigger guard and forestock end
- Comfortable grip angle
Scope Selection and Mounting
Proper scope mounting is critical when using artillery hold:
- Use quality scope mounts rated for air rifle recoil
- Position scope to allow proper eye relief with natural head position
- Consider adjustable parallax for precise aiming
Poor scope mounting leads to scope shift, where your point of impact changes gradually over time as recoil loosens mounts.
Sling Considerations
Traditional rifle slings that cinch tight around your arm don't work with artillery hold. If using a sling, it should only provide carrying convenience, never shooting support that restricts rifle movement.
Gas Piston Advantages for Artillery Hold
Gas piston rifles from ournitro piston collection offer several advantages that complement artillery hold technique:
Smoother Recoil: The reduced vibration and eliminated spring "twang" of gas pistons create more consistent recoil patterns, making artillery hold more forgiving.
Reduced Lock Time: Gas pistons typically have 15-20% shorter lock times than springs, reducing the window where barrel movement affects accuracy.
Consistent Performance: The temperature-stable performance of gas pistons means your artillery hold technique works identically year-round, unlike springs that require hold adjustments for different temperatures.
Less Scope Damage: The smoother recoil is gentler on scopes, meaning less worry about mounts loosening or scopes failing—problems that can mask artillery hold errors.
Measuring Your Progress
Track your artillery hold mastery objectively:
Baseline: Shoot a 10-shot group from 25 meters using your natural grip (before learning artillery hold). Measure the extreme spread (distance between furthest shots).
Progress check: Every 2-3 practice sessions, shoot another 10-shot group under identical conditions using proper artillery hold.
Success metric: Most shooters reduce group size by 40-60% after mastering artillery hold. If groups haven't improved after 5 practice sessions, review each element of the technique to identify errors.
Conclusion: The Path to Break-Barrel Mastery
Mastering the artillery hold transforms break-barrel air rifle shooting from inconsistent frustration to reliable precision. While the technique feels unnatural initially—especially for shooters with firearm backgrounds—the dramatic accuracy improvements justify the learning curve.
Remember the core principles: minimal contact, consistent support, free recoil. Let the rifle move naturally during its shot cycle instead of fighting against its mechanical nature. With practice, the artillery hold becomes second nature, and your groups will reflect the true accuracy potential of your rifle.
Ready to experience what proper technique can achieve? Browse ourgas piston rifle collection featuring over 50 models engineered for accuracy. Combined with proper artillery hold technique, these rifles deliver the precision Canadian shooters demand for hunting, target shooting, and pest control.
Master the hold. Master the shot. Master your rifle.


